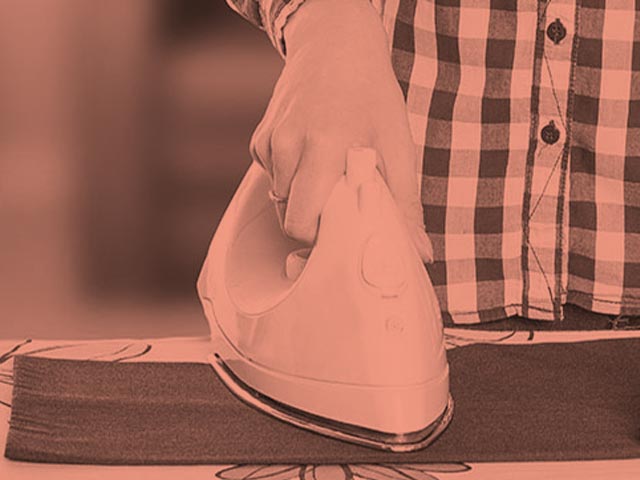
How to iron a pants in 5 easy steps
When you were young, these types of issues didn’t worry you. You didn’t even care about going to school with torn, wrinkled jeans, or care about ironing pants.
Unfortunately, you gain responsibilities over time and you realize that looking good, making a good impression and having a good work image is a necessary and fundamental part of adult life.
At this stage, you’re probably no longer living with your parents, so you need to do your own ironing. We will give you some steps to follow about ironing pants.
How to iron pants
Let someone else iron for you
Ironing is one of those chores which can be complicated and take up a lot of your time which could be spent with family or friends.
At Mr Jeff, you can find an ironing service tailored to you, whether it’s an ironed item, a washed and ironed item or even a half dozen/dozen ironed items. Here’s a gift to encourage you to try it!
✅Download the app or through the WEB and get your delivery service ✅
1. Have everything you need to iron a pants
Have everything ready before you start: an ironing board, an iron, a spray bottle of water and your wrinkled pants.
Being careless with these items can result in burned clothing or an unexpected fire. We recommend:
- Only plugging in the iron when you’re ready to use it and adjust the heat according to the item being ironed.
- Make sure the iron has enough water in it.
- Always move the iron, don’t let it fixed on a single area to avoid burns
2. Check the label before ironing your pants
Before washing or ironing any item, check the label to make sure you give it the correct treatment. Some items are ironed, others are not. Some are ironed with steam, others don’t need it. Some labels also state the required temperature. Following these instructions will help your clothes last.

How to iron a pants
3. Iron the pockets and waistband first
Contrary to what you may think, pockets and waistbands should be ironed first. Place the pants on the ironing board, turn the pockets inside out and iron.
When the pockets are done, turn them the right way around and make sure the fabric doesn’t wrinkle, which would affect the rest of the pants when being ironed.
The best way to iron the waistband is to press the iron on it without moving it. Ensure the fabric is stretched so that there are no folds which could result in wrinkles.

How to iron the jeans
4. Ironing the legs of pants
This is where we learn that ironing pants isn’t so complicated. Take one of the legs and spread it on the ironing board with the seams on each side, and iron the center of each leg.
If your pants hasn’t been in the basket for a long time waiting to be ironed, there won’t be many wrinkles. When ironing, make sure the fabric is stretched so that it’s ironed as smoothly as possible.

How to iron a pants
5. How to iron pants with a crease
Some pants, especially dress pants, have a marked crease along the center of the legs. To iron them, you must hold both seams of the leg on the ironing board sideways (one leg at a time). Make sure both seams are together to ensure it’s as straight as possible.
Press the iron down at the top of the pants to the bottom, and then iron the rest of the line between the ironed points, so that the two points come together. The crease should stop at the bottom of the legs.

How to iron a suite pants
6. Final step before your pants are perfect
There is no step 6, just repeat the same steps for the other leg. Once both are ironed, let the pants cool down before you store it. If you store it while it’s still warm, it can easily get wrinkled again.
Like everything else, it gets faster with practice.
Remember that the best option for getting perfectly ironed pants is to leave it with the experts. Place your order with Mr jeff by choosing the ironing only or washing and ironing option and have all your clothes ready to wear. You can also choose a dozen/half dozen ironed items so that you’re always ready to go the office or out with friends.
✅Download the app or through the WEB and get your delivery service ✅
You must be interested in:


